(Am writing this in Paris, we’ve come here for a few days. As our train came into France on Wednesday, my daughter texted me to say something terrible was happening in Paris…
This is a massive post. I don’t usually write in such detail but the information was so complex I needed to set it all out.)
A new term. Printmaking with Brian Hodgson – a huge amount of information. I didn’t have any concept of printmaking even on a basic level of knowing sometimes what was a print and what was not, really.
Brian explained that we will be doing studio based printmaking. He tells us that printing is process based – there are lots of processes in art. This is certainly true in terms of what we have done on the course so far with drawing, and particularly with painting, but this is taking process to a new level. Brian tells us printing is transferring one line to another and that the print maker is interested in the changes that occur when a mark is transferred – there will be losses and gains, surprises. Where will it lead?
Basic techniques
Mono printing – make a painting with ink and transfer to paper – Ernst, Klee Lino and wood cut – German expressionists – use of wood grain, studio based
Dye transfer or photocopier – print on top of photocopy – you can use acetone to transfer a photocopy
Rorschach technique – paint on piece of paper, fold, and transfer
Frottage – rubbings of surfaces – rubbing of textured surfacumage – holding a candle u paper
Stencil
You can print on any surface or materiaL
Processes
Brian wants us to develop a sequence/ progression of ideas – starting with something we’ve done. We’ll be using mono print today, later lino cut – developing a series of ideas
Brian’s website www.briandhodgson.co.uk shows some of his very interesting and exciting prints.
Demonstrations
Brian then did an intensive session of demonstrations. It looked deceptively possible!
Mono printing
Materials
Newsprint good for mono print. Cartridge paper better for woodcuts
Inks – Brian recommends Caligo safe wash relief ink, from Intaglio, Southwark Bridge Road – basic colours.
Rolling board, you can use sheet of melamine, glass, aluminium, plastic
Roller – a clean one for pressing on and one for rolling out ink You clean these with soap and water, scourer
Spatula for taking out ink and spreading on the board.
Keep inks covered with lid, tracing paper, cling film or will harden.
Method
Put Ink on board, use spatula to do two stripes
Then roll into a square pressing on hard. A very thin leven layer.
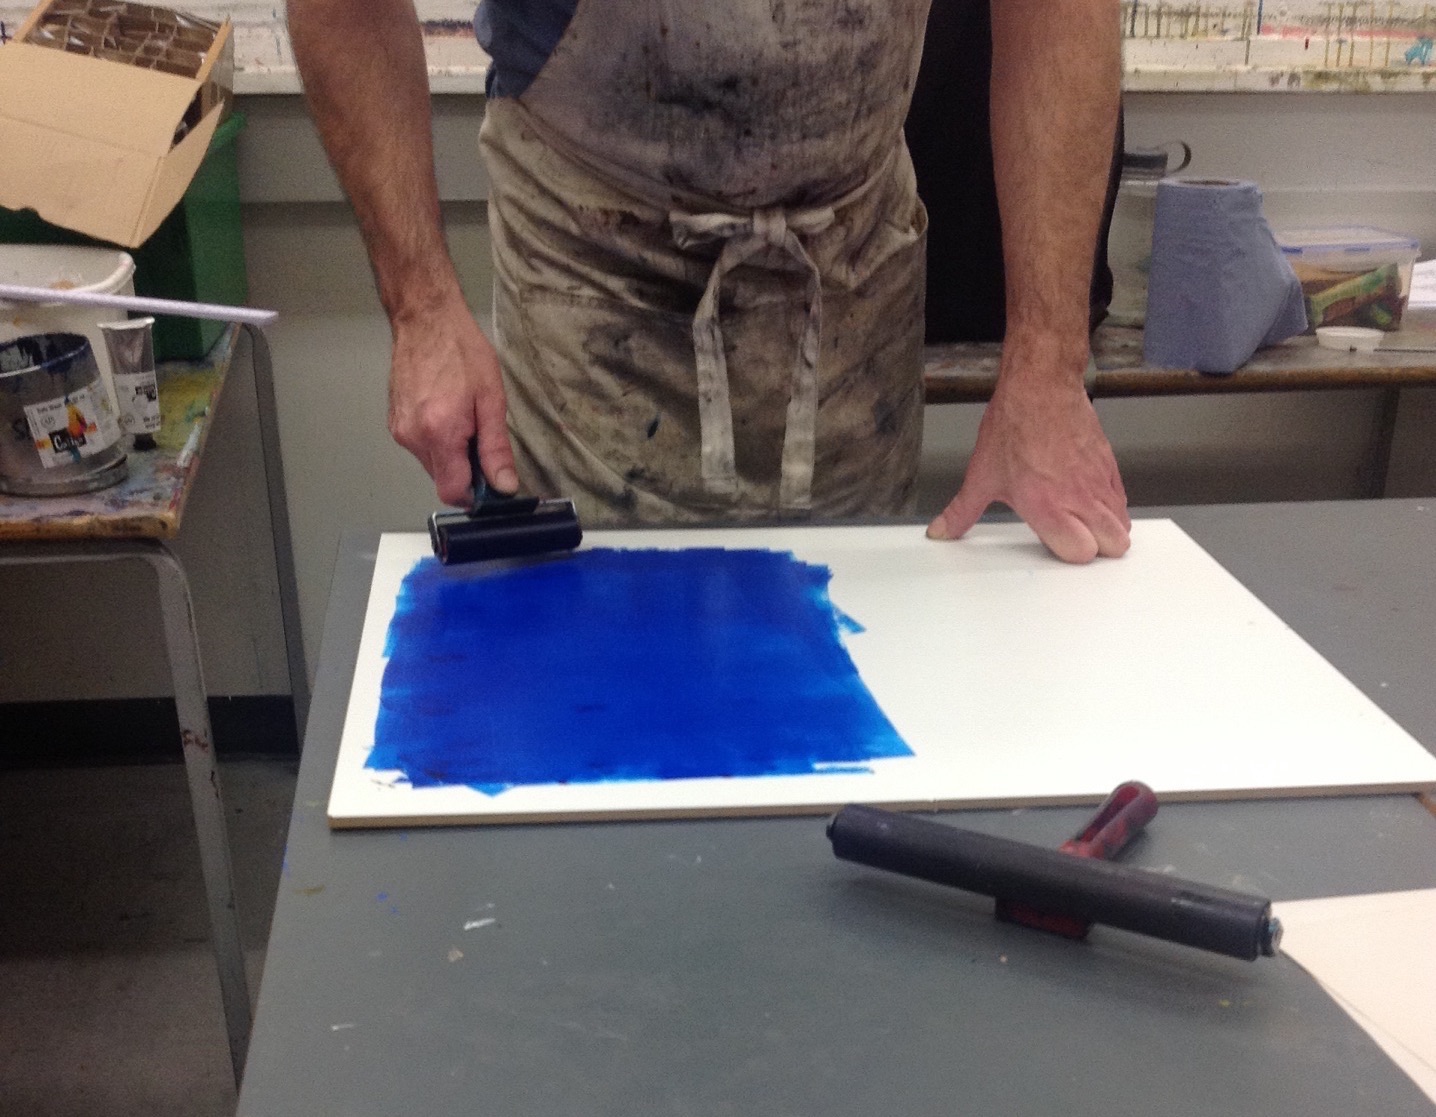
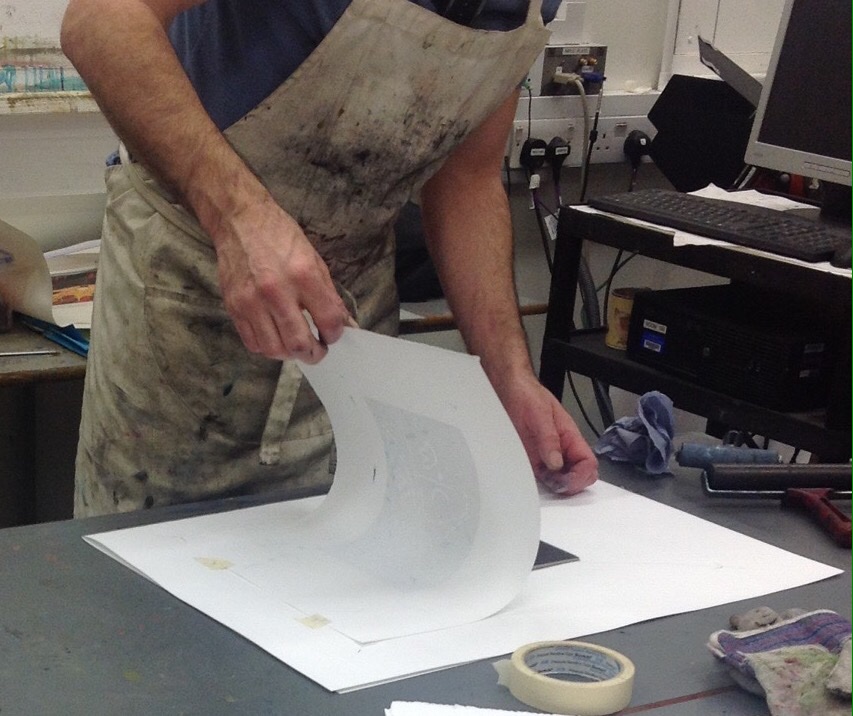
Lay paper over and do drawing on top with pencil, you can also use biro, thick graphite stick etc
Lift up paper and see print.
You can do a thicker layer of ink.
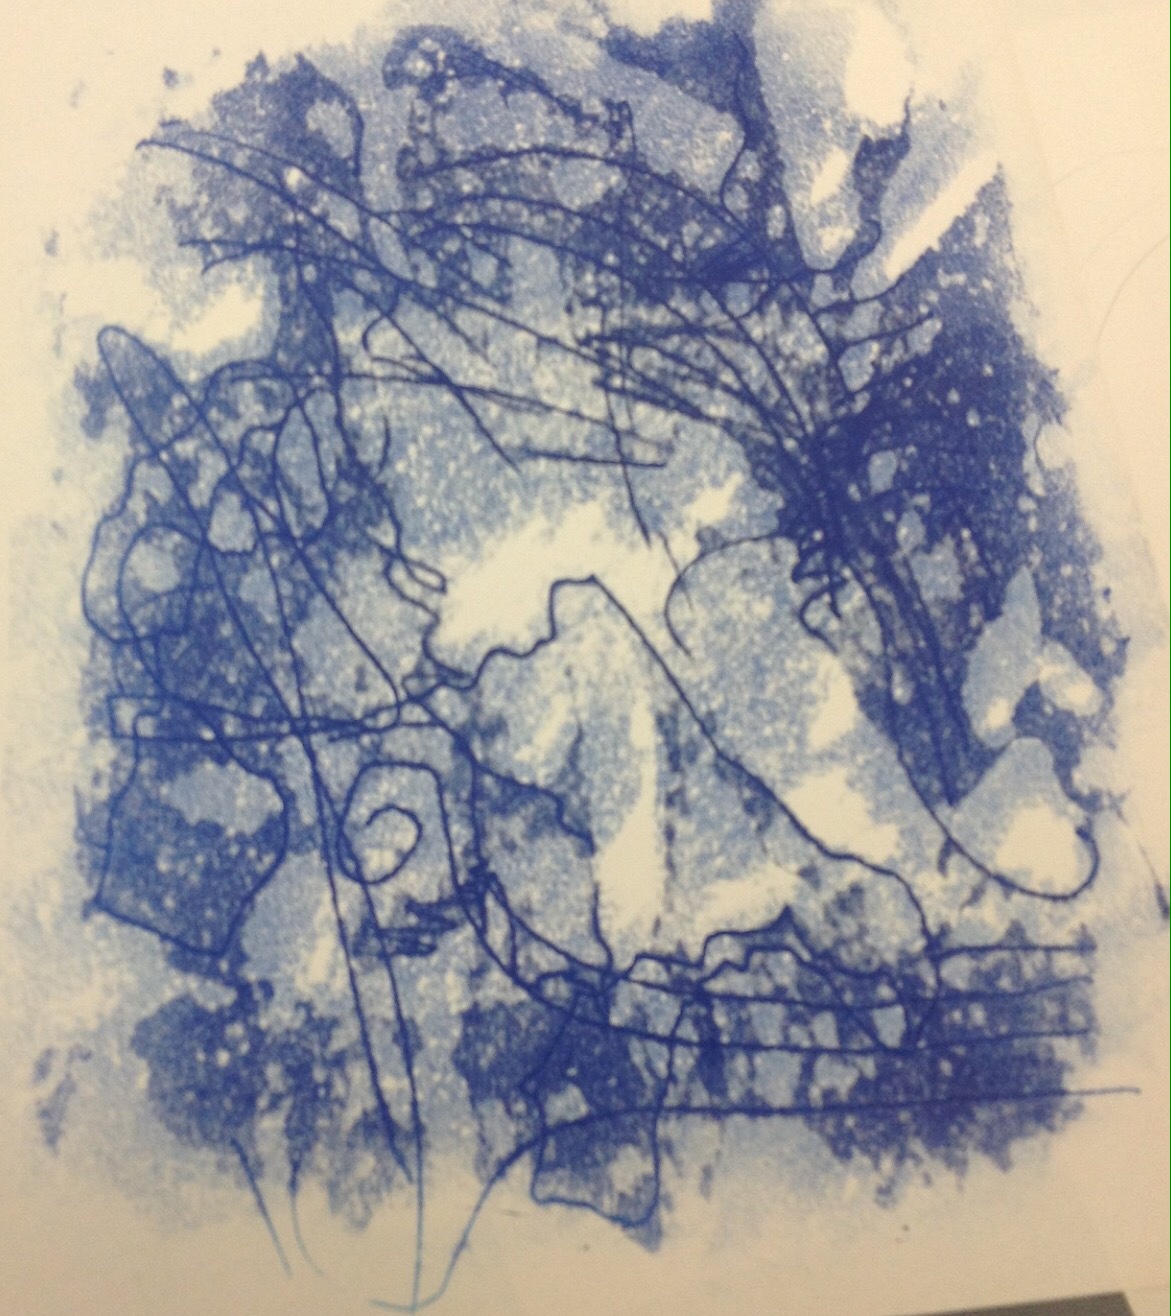
Another method – you can use a rag, anything, to make marks directly on to the ink on the board. Then press on the paper using the roller.
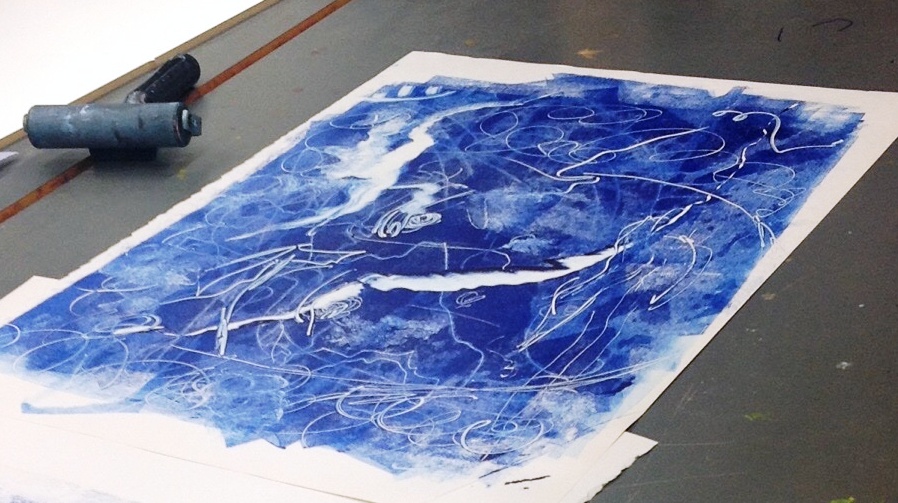
You can use another colour – put layer direct on top.
You can flick paint etc. Then put on the paper and roller thoroughly.
Wood and Lino. Printing
Materials
Cutting board
Stanley knife
Metal ruler
Cutting tools – v shaped end for lines, u shape for areas, straight for fine lines
Gardening glove for other hand
Method
Don’t use too big a piece of lino. Brian told us to think of one colour in the first place.
You can use a pencil on the lino or just start cutting.
Cut away from your hand – wear a gardening glove on other hand.
You don’t have to do complete lines.
You can warm lino up on radiator
The area you are cutting away will be white.
(This is hardest thing for my brain to grasp.)
Roll the ink out onto the board. You can scrape off if too much then roll out .
When you’ve finished cutting, make a registration sheet – so that you will be able to accurately print with more than one layer.
Take a large piece of paper and a pencil – and place your printing sheet in the middle of it and mark the corners on the bigger sheet.

You can makr the middle of the printing sheet using a ruler and drawing diagonal lines.
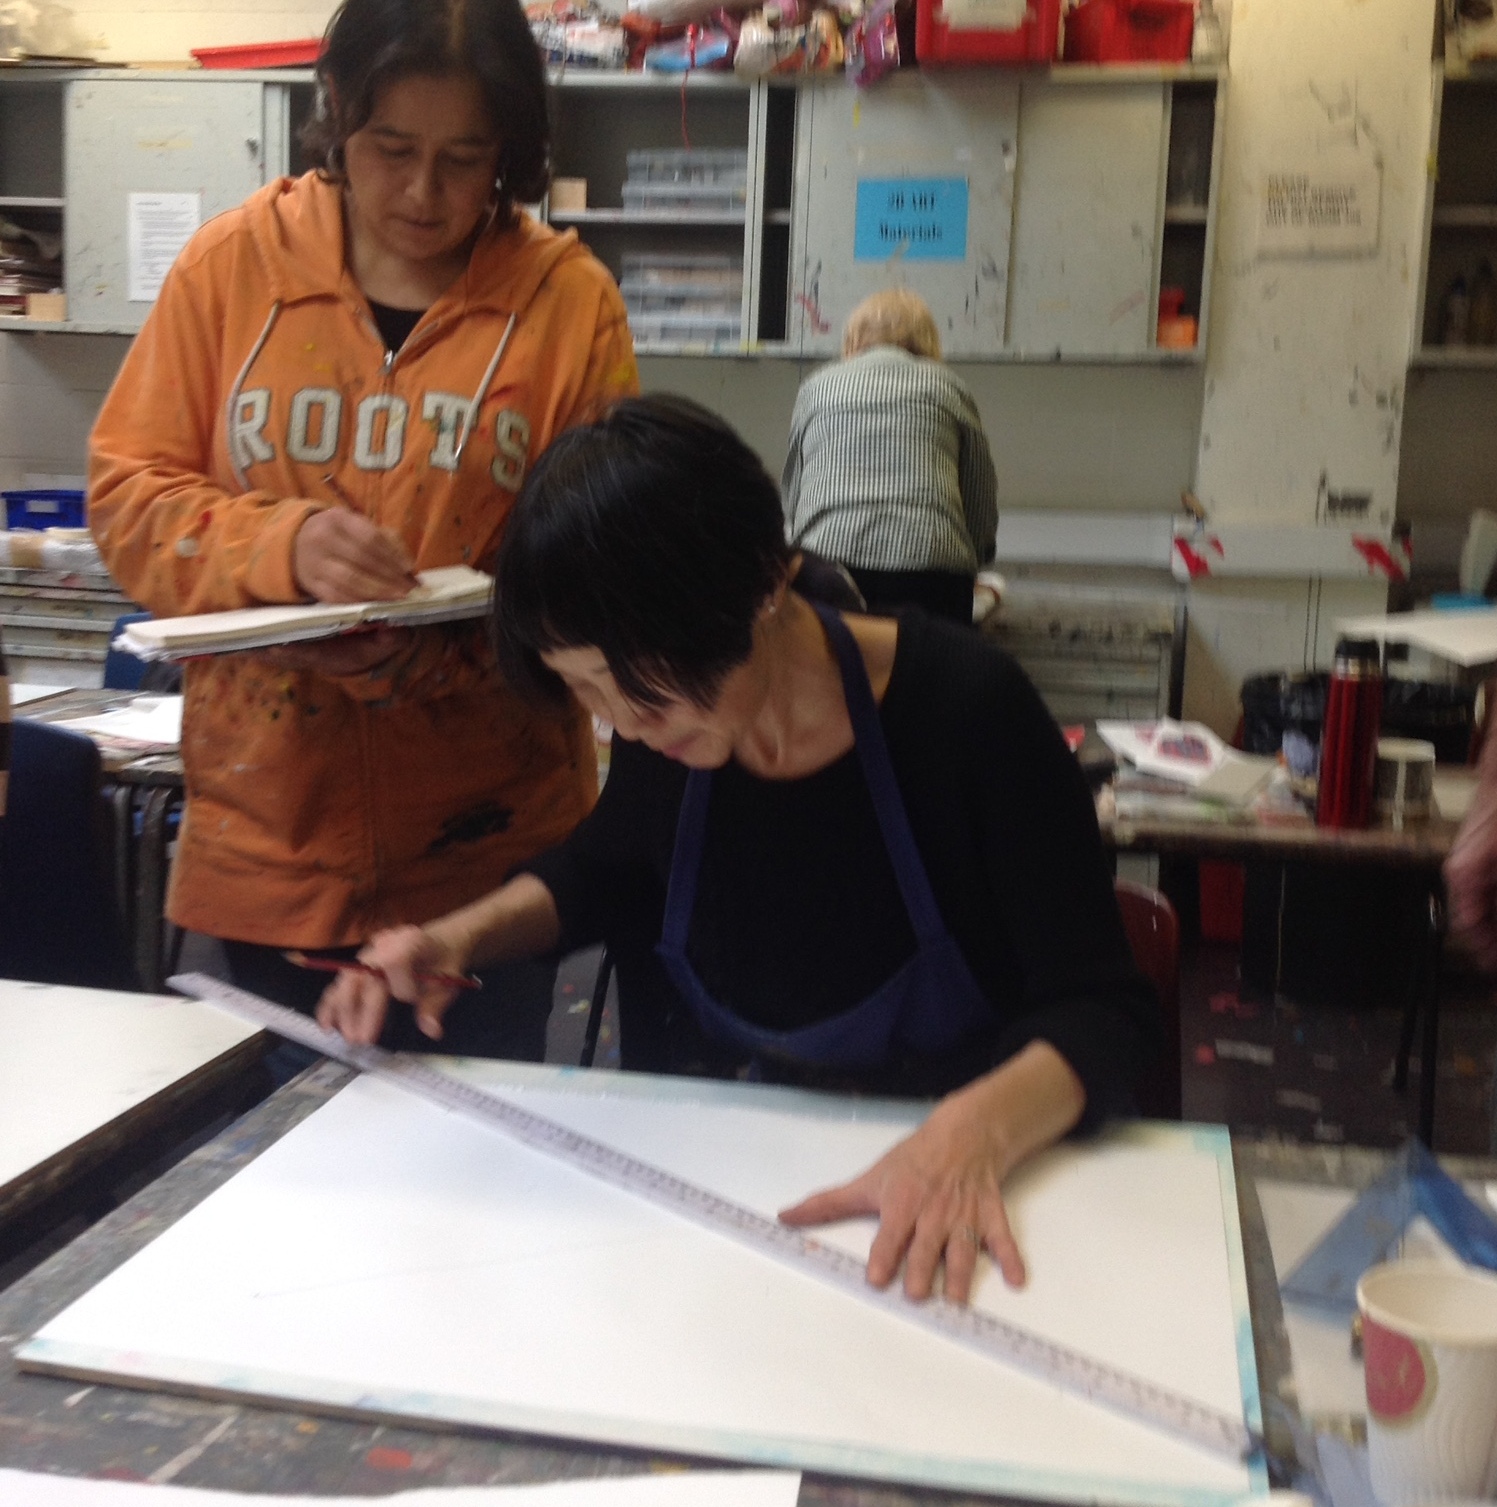
Then put your dry lino piece in the middle and draw round it.

Put an arrow on the back of Lino to show the correct way up for your print.
You can now print layers and identical prints correctly positioned.
When your ink up your roller – don’t do it too thickly so that ink goes into the lines on the lino – work cleanly – and coat the lino with thin layers.
Get 2 bits of masking tape and tape the printing sheet within the marks you’ve made on the registration sheet like door handle.
Then place the lino on the registration sheet facing up – close the paper down and use the roller to press and print.
Reductive printing
You can put more than one colour on the lino or do reductive printing.
If you’re doing reductive printing do 7 or 8 prints so you always keep a version at each state.
Print in one colour, then add bit of colour, add bit of red etc Start with lighter and go to darker.
To do the next colour clean the lino quickly and dry to prevent lino curve.


Piccasso print – Brian showed us how this had been achieved using different layers, starting with yellow first on number of different pieces.
Then a red layer. Unfortunately Brian’s copy of the article showing the layers disappeared. This is the print:

You can see a film about it on the Art Fund website here
What you cut out is colour you previously printed. You can make the design on tracing paper and transfer the parts you need each time. Keep the tracing paper as a plan. Draw the bit you want. You can print each stage as a black one next stage add next colour Put down sheet with first colour on the registration sheet make sure right way up Put paper down plus masking tape
You can use transparent medium/ink extender – it can turn any colour into a transparent colour – allows colour underneath to show through.
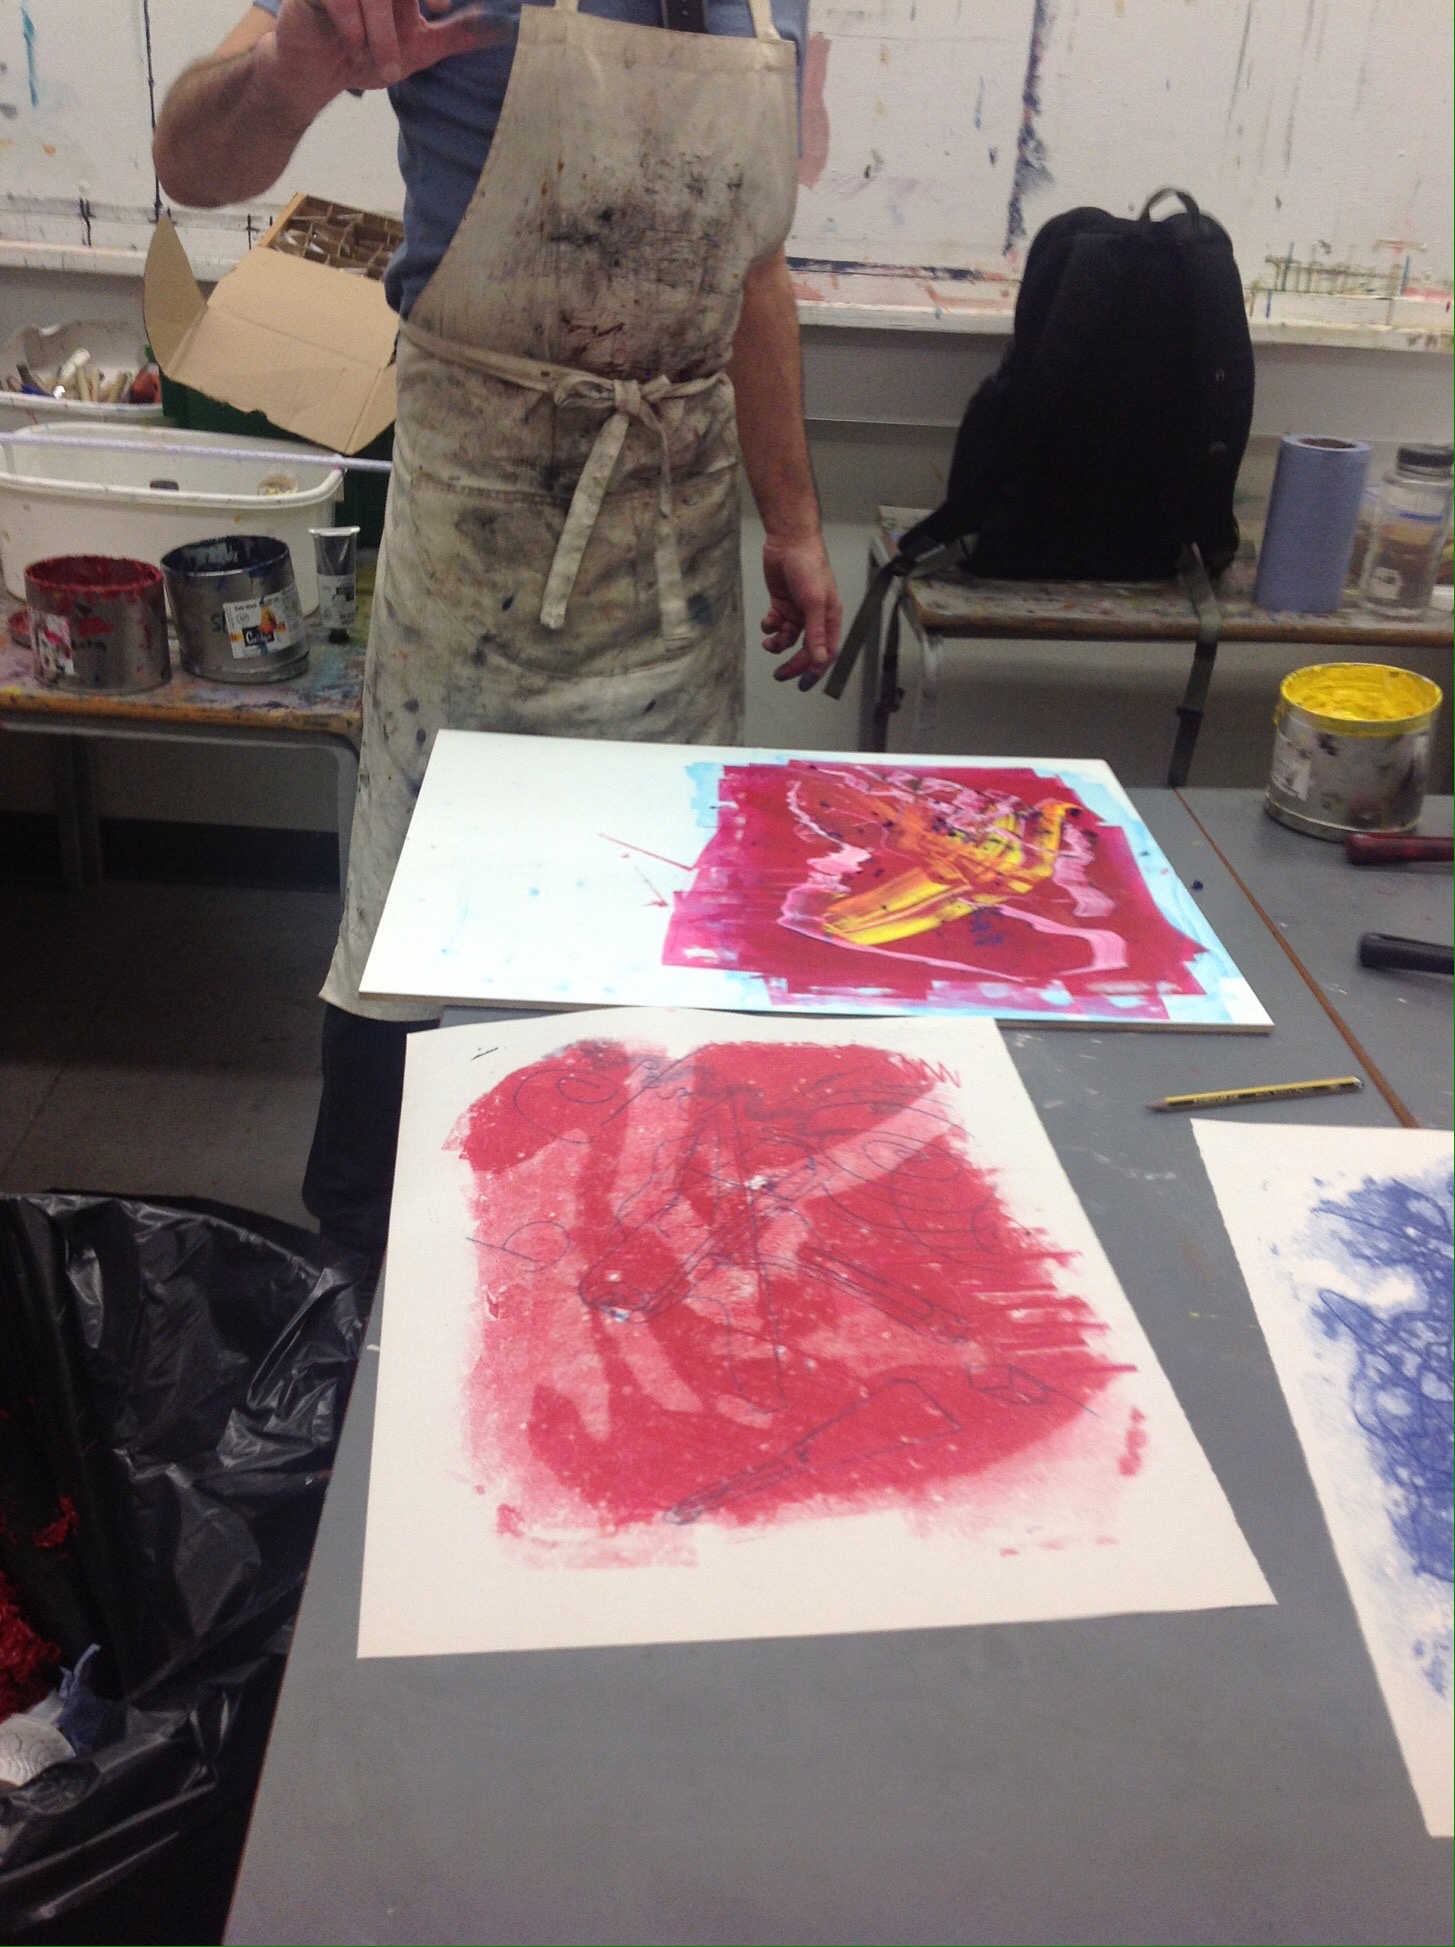
What I did
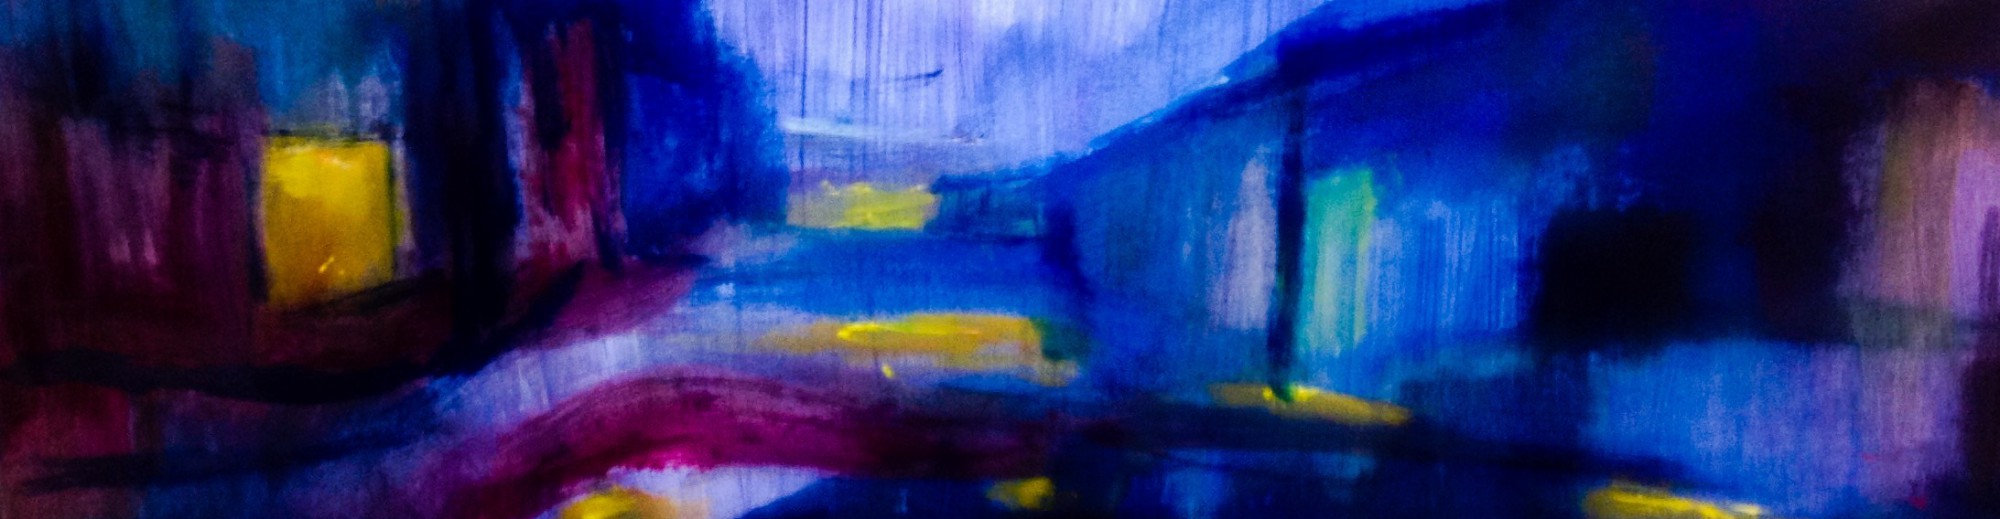
Using the tree bark drawing and collage I did, I did two mono prints – the ink was too thick on the first one although I thought I’d done it thinly. I then did a layer of red – because the print was so busy, I felt it was a bit of a mess.


I then quickly tried a bit of an earlier drawing. I was more pleased with this but against the ink was probably too thick.

