We had the whole day to develop an idea based on something we’d done previously.
We also went over some processes from last week – eg making a registration sheet – I’ve added material on this to last week’s post.
Piccasso print – Brian showed us how this had been achieved using different layers- starting with yellow first then other layers. Unfortunately Brian’s copy of the article showing the layers disappeared. This is the print and I’ve found a film about it on the Art Fund website – click here
Judy Greenway passed on this link to a Tracey Emin masterclass video of mono printing. Click here

You can also see a link to the the Piccasso print and process on Printmaking Day 1
What I did on Day 2
It was an intensive day which went very quickly but I found physically tiring, particularly with my right arm which still isn’t totally recovered. All that cutting, rolling, cleaning etc.
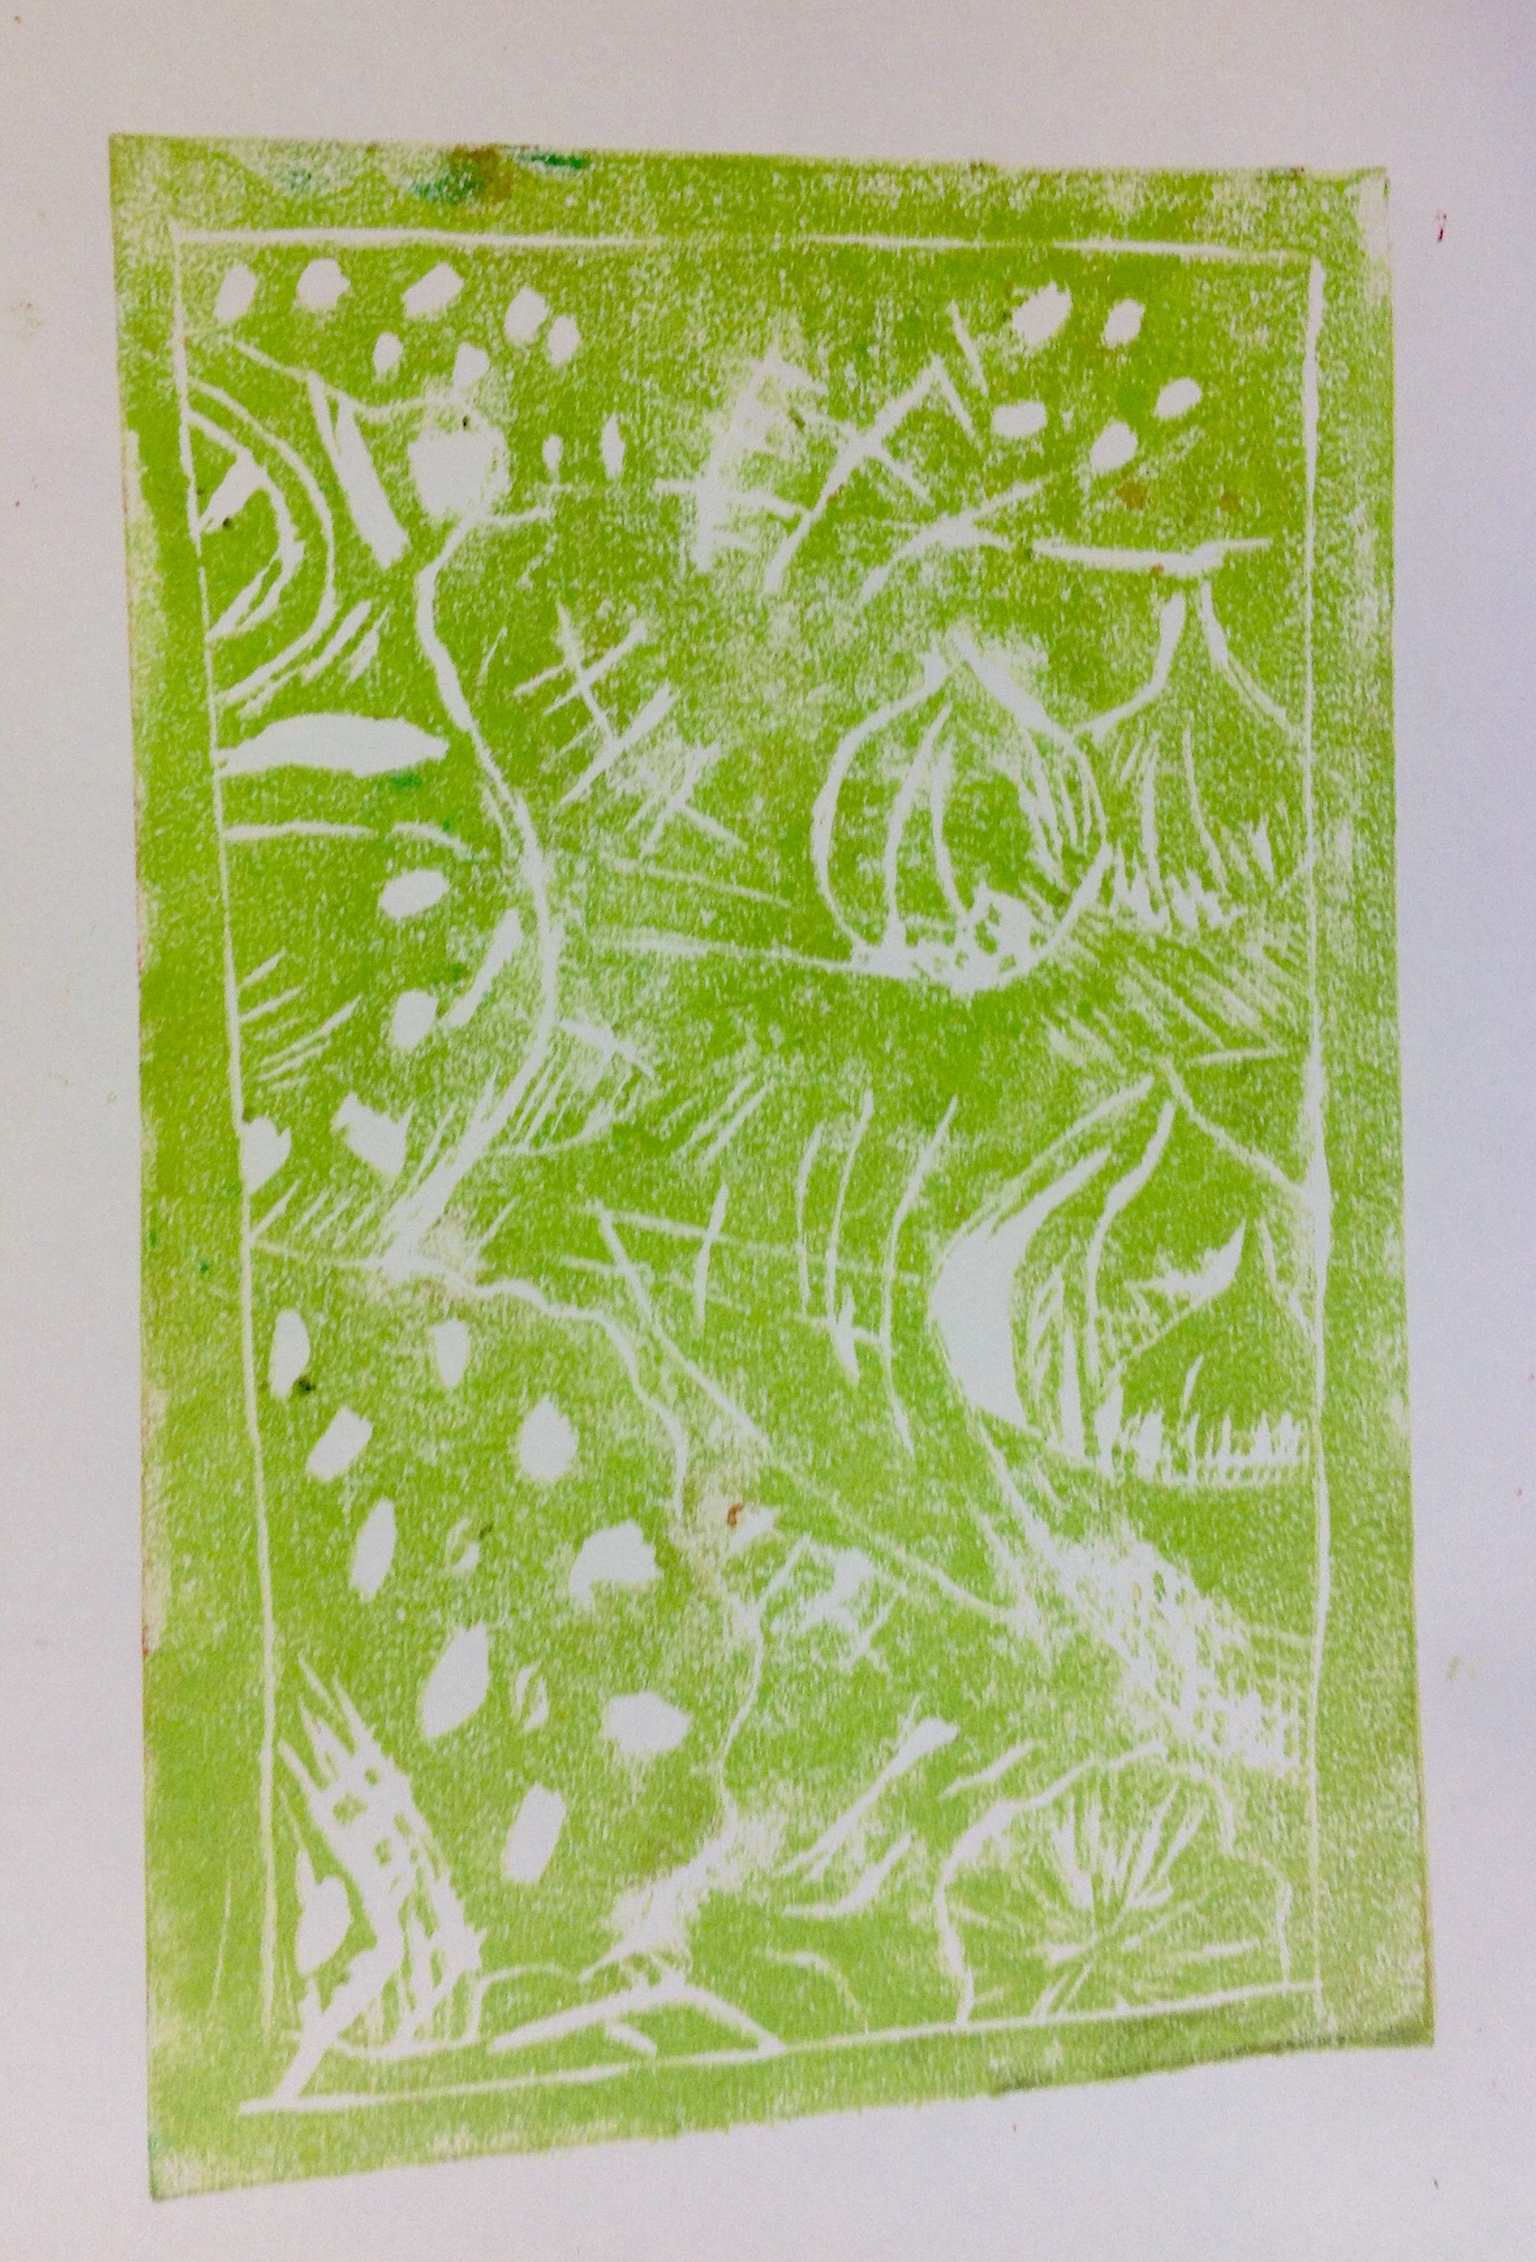
I decided to do a one colour print – was I right? It was the first time I’d done this so wanted to get the feel of cutting and printing without over complicating things for myself.
We were encouraged to use tracing paper to trace our source material to trace on to the lino and also to use the photocopier if needed to blow up a section of a drawing to create an image.
This is what I did – I took a section from one of my drawings from last term – I actually did a line drawing from it – and blew it up. This removed a lot of the shading etc – which I now realise would have been helpful. I decided, as it was my first effort, to print in one colour at a time. I printed in black, red and green.

The red ones got a bit clogged up. Next time Brian is going to help me to do some more cuts so I can print in more than one colour. Or maybe I’ll use the tracing I did or do a new tracing and do a reductive print using 3 colours.
I quite like the black and white print I did.